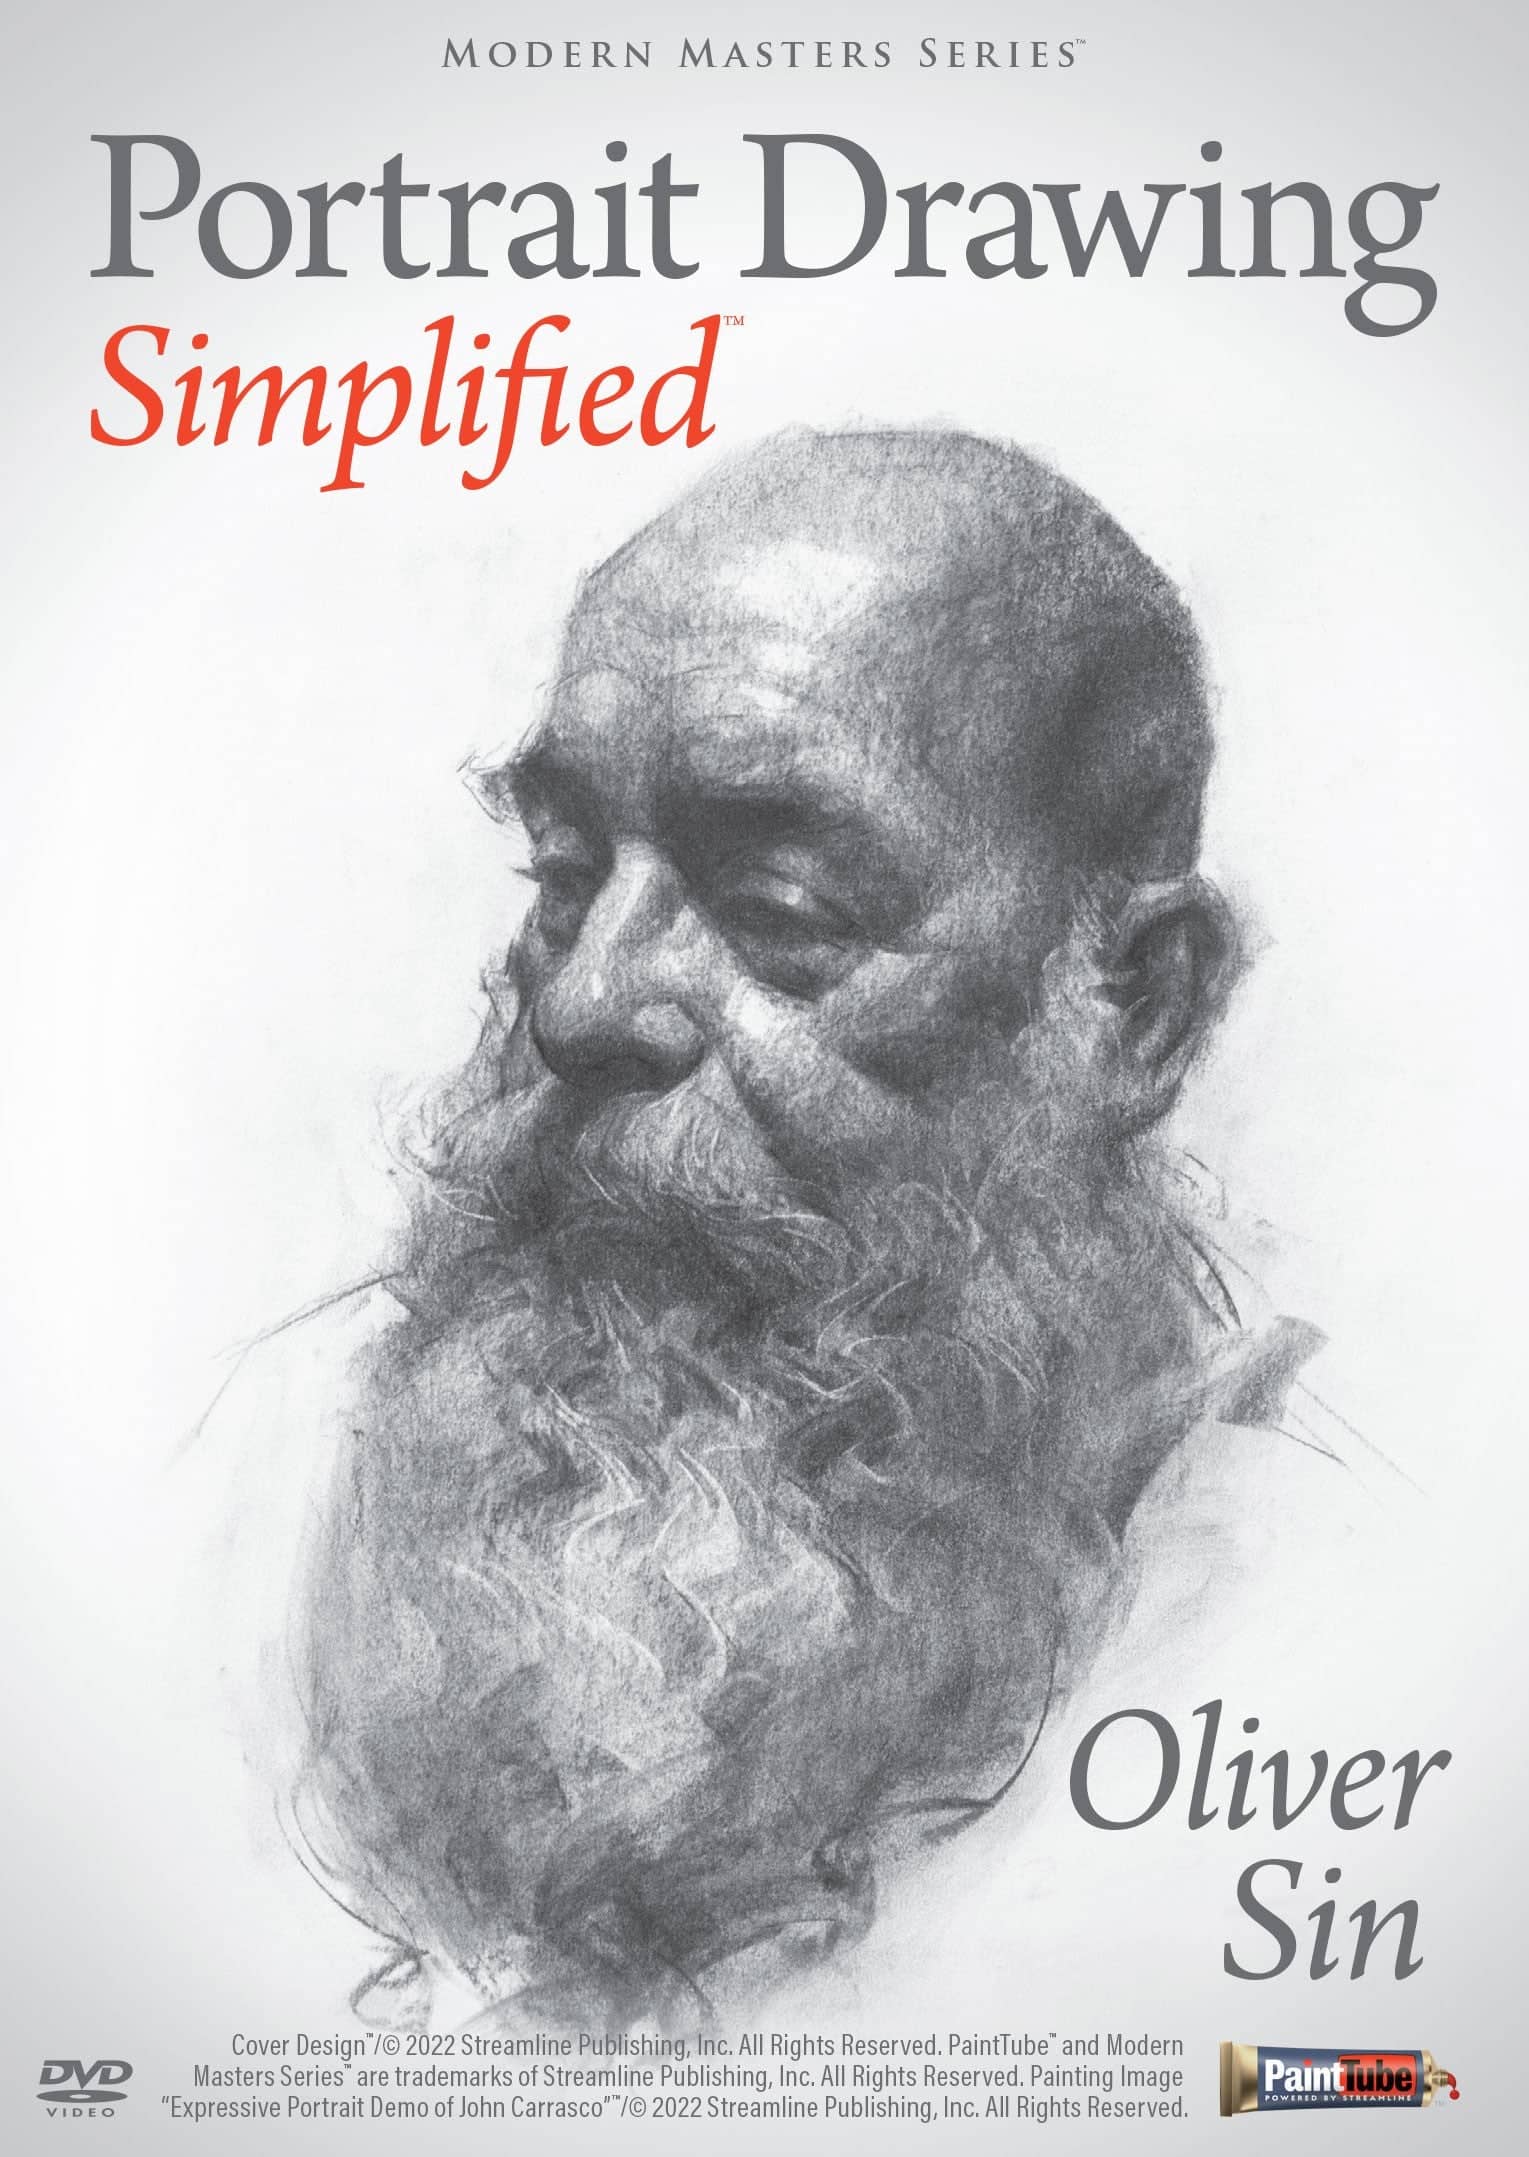
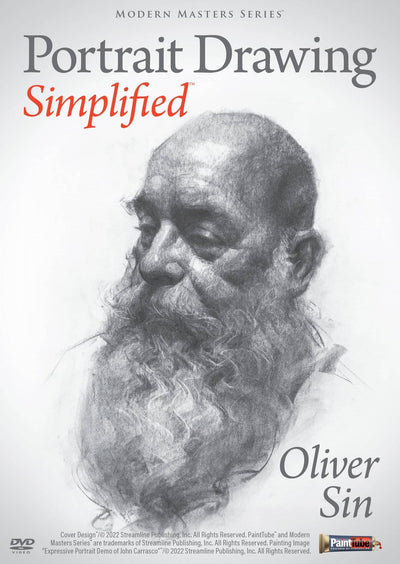
The instructional video presented by Oliver Sin enabled me to truly recognise the artist's extensive background, and I am genuinely appreciative for the valuable learning experience.
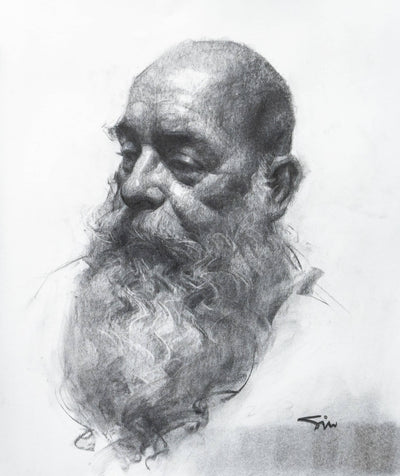
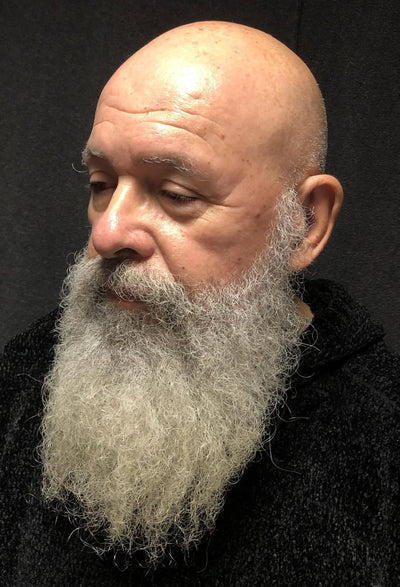
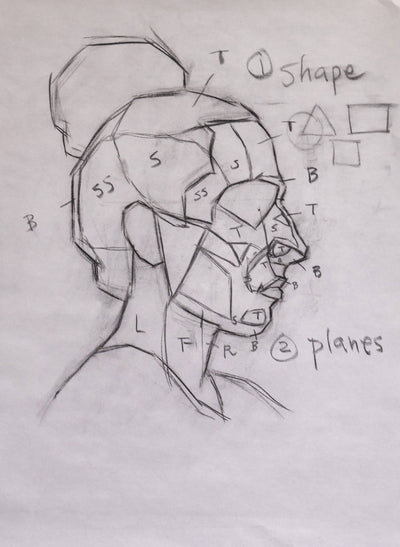
Oliver's tutorial consists of two artistic styles that, in my opinion, provided a perfect blend of instruction and practicality. This helped me to explore different options(as I did not have all the equipment needed) , relatively easy to practice, and allowed me to continue without encountering any obstacles except for my own impatience.
In addition, there are shortcut options, potentially controversial, that can help you build muscle memory, develop artistic skills at a faster pace, and venture into various creative avenues without being confined to a particular style.
Overall, an amazingly brilliant tutorial that my brain could understand and work through with amazing results on my first go. Highly recommend.